
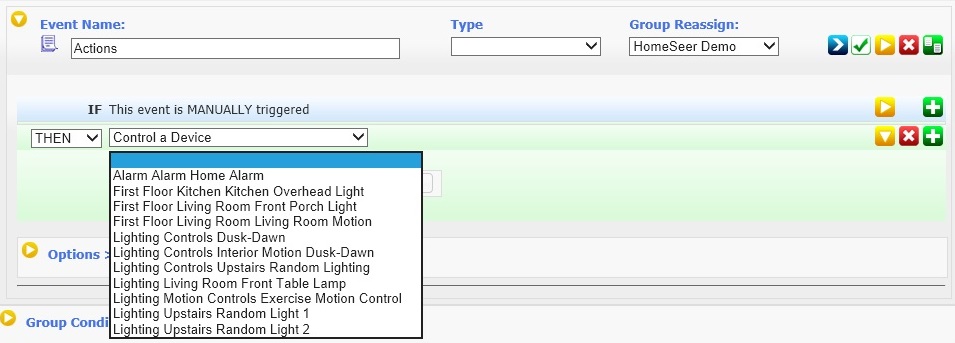
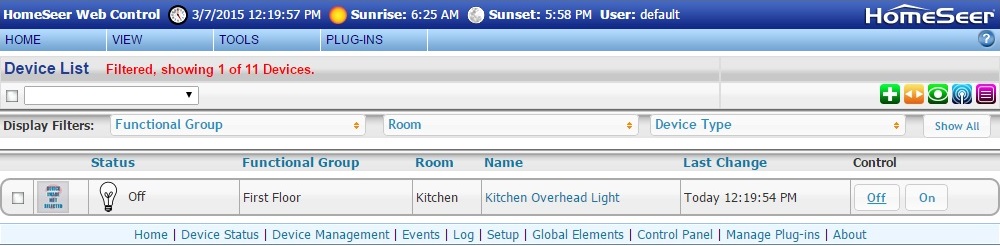
This first topic covers the Action "Control a Device". It can be used to control any device in the system that is controllable. Underneath is a dropdown of all of the devices available for control. They are arranged in the order of Label2 (default "Floor"), Label 1 (default "Room") then by the Device name.
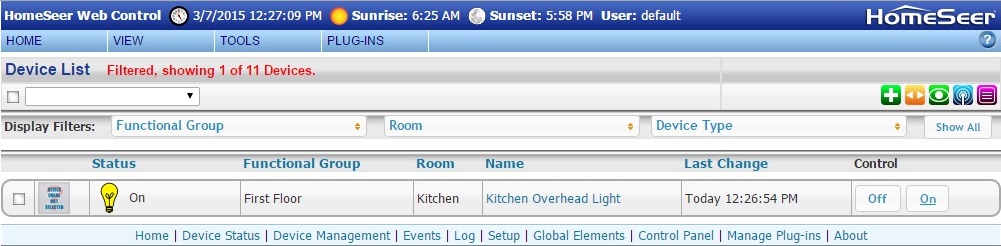
When you choose a device, you will be presented with the control options available. If it is a dimmer control, it will be OFF plus all the dim levels plus ON, sometimes there will be "ON last level". If it is a thermostat setpoint it will be in degrees, etc. Below is a simple binary (ON-OFF) device.
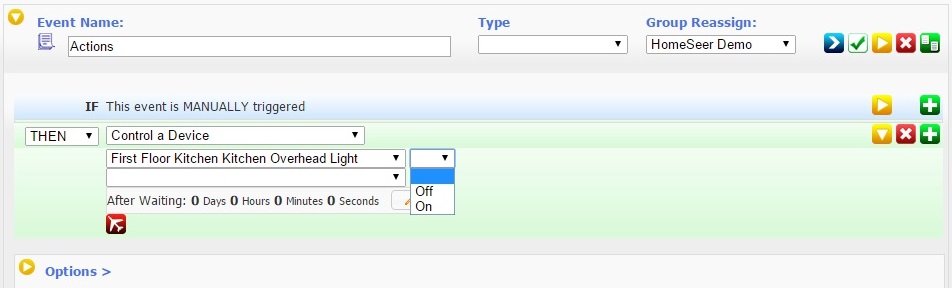
After you pick the value to which this action will set the device, you can choose to delay the execution of this action. Click on the little pencil icon to the right of the time and you will be presented with a popup for days, hours, minutes and seconds.

Click on one of those items and you will be presented with a picker for the available values.
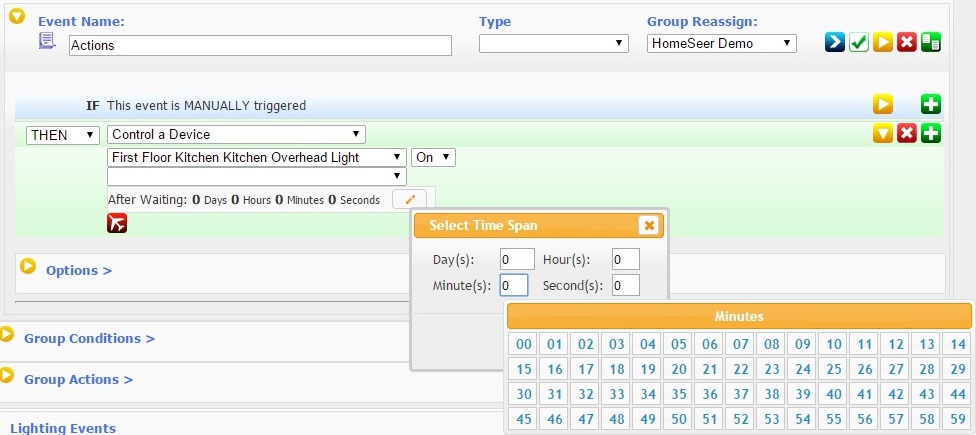
Click on the value in the picker popup and it will populate the appropriate time field. You can do this for each of the four fields. When you are done click "Submit".
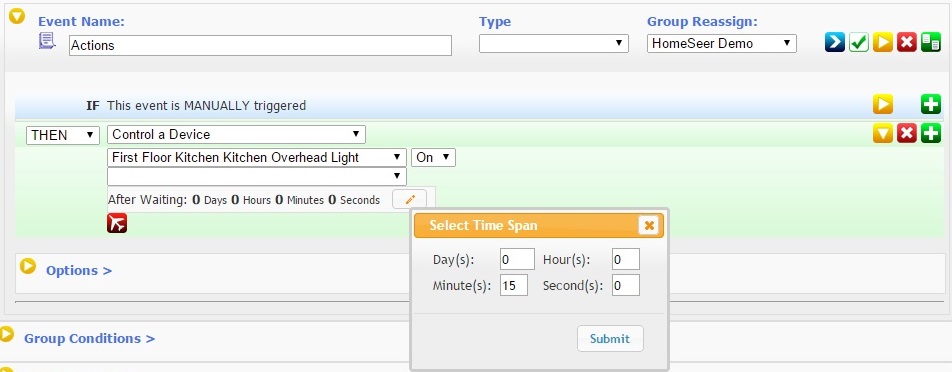
Then you will have created an action with a delay. Below it is 15 minutes.
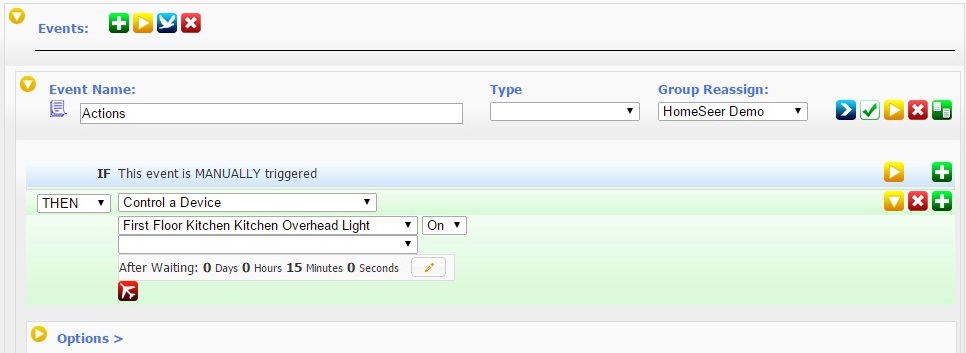
We'll get to how Delayed Device Actions are handled a little later in this thread. For now we are going to cover Advanced Editing options for this particular action. In the screenshot above you will see the red airplane icon directly under the delay time. If you click on it there will be a new option of "Set Device String to:"
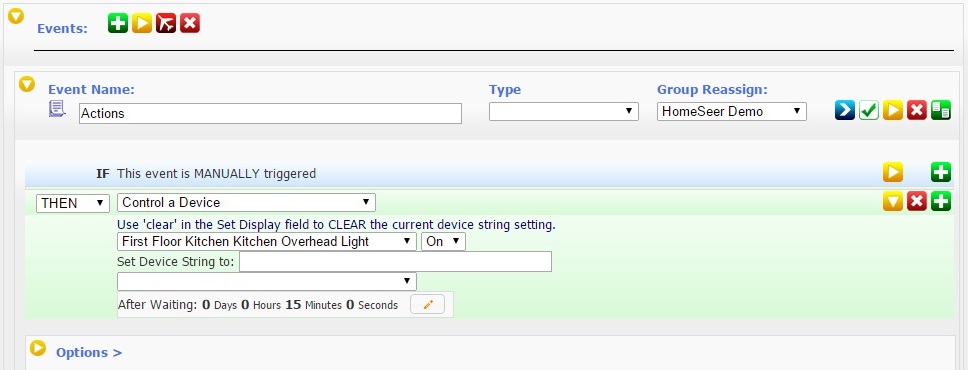
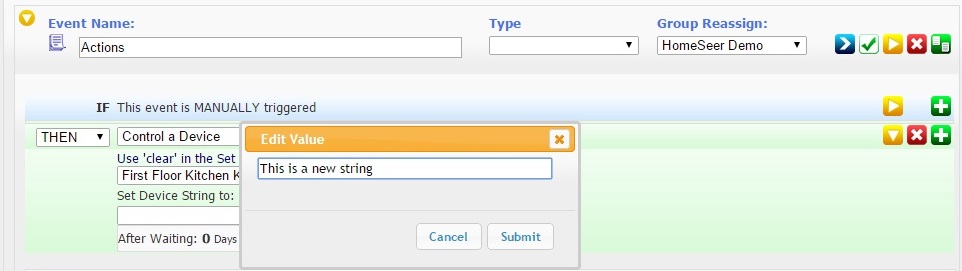
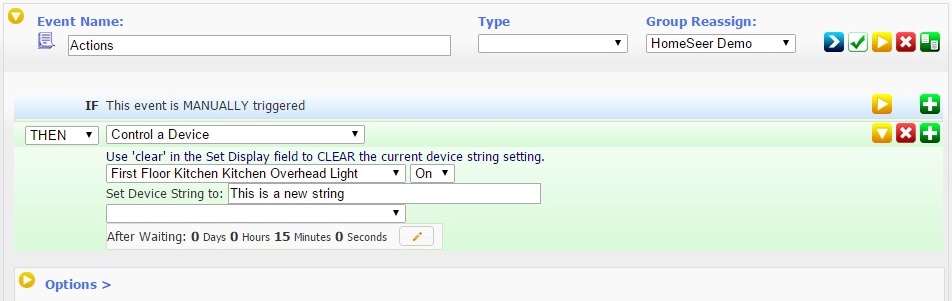
Since this is the only advanced option for controlling a device, lets go through the steps. We're going to see what this does. The first thing to do is to enter the new String value. Like most of HomeSeer's text editing, you are presented with a text entry popup. Enter the new string value can click on "Submit".
Continued next post
When you choose a device, you will be presented with the control options available. If it is a dimmer control, it will be OFF plus all the dim levels plus ON, sometimes there will be "ON last level". If it is a thermostat setpoint it will be in degrees, etc. Below is a simple binary (ON-OFF) device.
After you pick the value to which this action will set the device, you can choose to delay the execution of this action. Click on the little pencil icon to the right of the time and you will be presented with a popup for days, hours, minutes and seconds.
Click on one of those items and you will be presented with a picker for the available values.
Click on the value in the picker popup and it will populate the appropriate time field. You can do this for each of the four fields. When you are done click "Submit".
Then you will have created an action with a delay. Below it is 15 minutes.
We'll get to how Delayed Device Actions are handled a little later in this thread. For now we are going to cover Advanced Editing options for this particular action. In the screenshot above you will see the red airplane
icon directly under the delay time. If you click on it there will be a new option of "Set Device String to:" Since this is the only advanced option for controlling a device, lets go through the steps. We're going to see what this does. The first thing to do is to enter the new String value. Like most of HomeSeer's text editing, you are presented with a text entry popup. Enter the new string value can click on "Submit".
Continued next post
 . The event was run manually 12:24:02 PM.
 beside options, showing that one or more is selected.


Comment